Event Check-Out and Re-Entry: Track Who's Inside Your Event
Event check-out and re-entry explained: why exit tracking matters, how the check-out window works, the two checkout paths, and manual overrides.
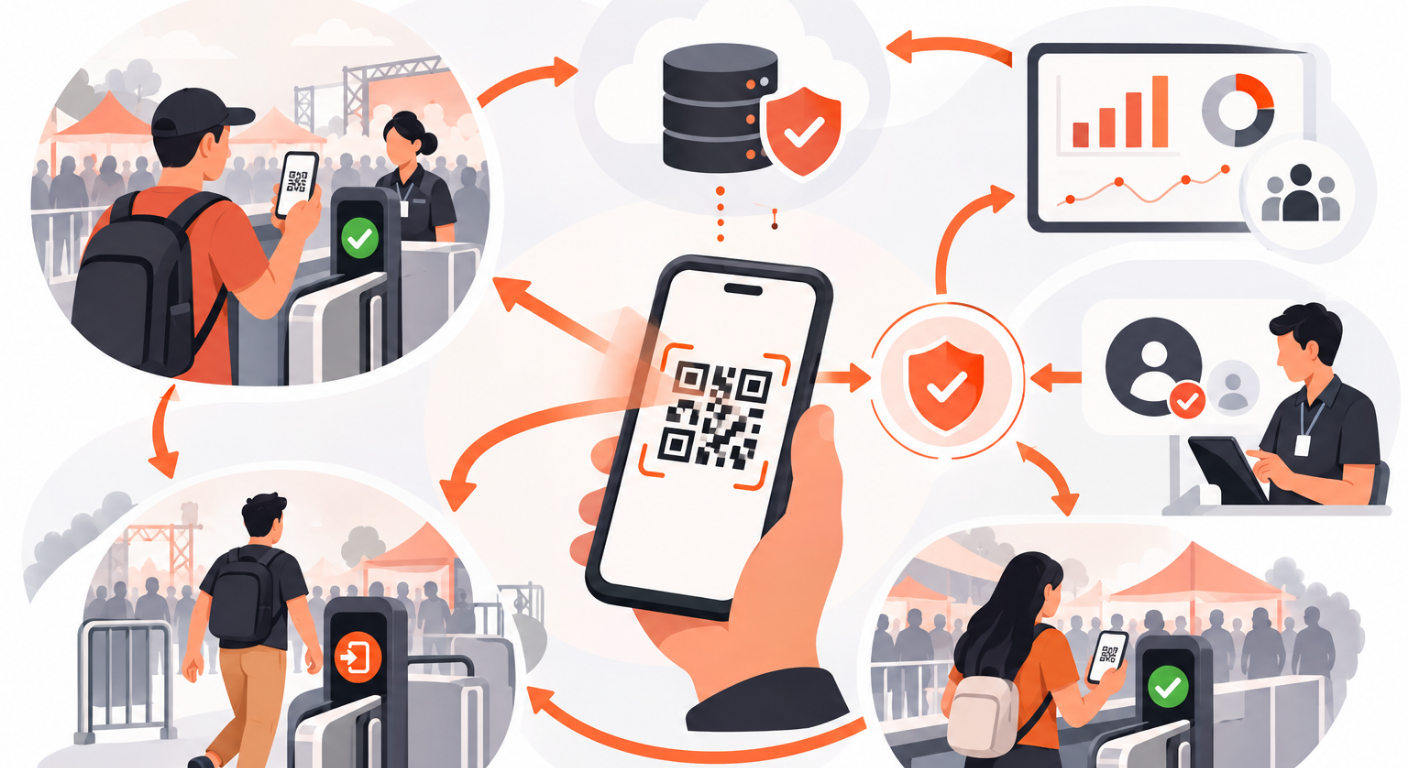
“How Many People Are Inside Right Now?”
The fire safety officer asks one question, and it should be easy: how many people are currently inside? If your system only tracks check-ins, you can’t answer it. The guest who left an hour ago to catch a train and the guest dancing at the stage look identical in your data.
Check-in alone counts arrivals. Adding event check-out gives you the number that actually matters at a venue with a capacity limit: current headcount. And once the system knows when guests leave, re-entry comes for free — a guest who steps out can scan their way back in without a staff debate.
What Check-Out Is (and When You Don’t Need It)
Check-out records that a guest has left. The ticket flips to a “checked out” state, and the next scan checks them in again as a fresh entry.
It only matters for events where guests come and go: multi-day fairs, venues with food stalls outside, guests retrieving things from the car, parents dropping off and picking up kids. For a single-entry event — a conference keynote, a seated dinner — leave check-out off. The ticket locks at first check-in, and any rescan simply shows “already checked in”. One less thing for door staff to think about.
The choice belongs to the organizer during event setup. Door staff can’t flip it — which is exactly why you should decide it before the doors open, not during.
The Check-Out Window
To prevent nonsense check-outs — a mis-scan seconds after a guest walks in, or a mischievous friend scanning someone’s ticket while they’re in the bathroom — the system uses a per-guest sliding window: it opens at that guest’s check-in time and stays open for the length you choose.
| Window | Best for |
|---|---|
| 15 minutes | Short events, guests who leave again almost immediately |
| 30 minutes | Default for most events — the step-out-and-return crowd |
| 60 minutes | Longer events with food runs and car trips within the hour |
| 90 minutes | Fairs and multi-area events with guests drifting in and out |
| 120 minutes | All-day events with free movement |
Because the window rides on each guest’s own check-in time, it must fit inside a single event day — the system hides options that don’t fit your schedule and falls back to a safe value if a schedule change invalidates your pick.
The Two Ways a Guest Checks Out
Path 1: Scan at the exit door (green). Staff with a scanner at the exit scan the guest’s QR on the way out. The screen turns green — “check-out success”. This is the controlled path: you know exactly when the guest left and through which door.
Path 2: Automatic check-out on re-scan (blue). No exit scanner? When a guest who is currently inside scans at the entrance again (they stepped out and are coming back), the system automatically checks them out first — the screen turns blue, “auto checked out (re-entry)”. Their next scan is what checks them back in.
That blue-green distinction keeps the door honest: green means a deliberate exit was recorded; blue means the system noticed an exit implicitly. The full lifecycle reads:
- Scan 1 — checked in (green)
- Scan 2 — auto checked out on re-scan (blue)
- Scan 3 — checked in again (green)
And it repeats all night, as long as check-out stays on and scans land within the window.
What You Get From It
- A true inside-now count. Check-ins minus check-outs — the number the fire officer, the venue contract, and your security lead all want.
- Come-and-go freedom for guests. Festival food outside the gate, smoke breaks, car trips — no arguments at re-entry, because the system already knows the guest is entitled to come back.
- Dwell patterns in analytics. Average time inside, peak occupancy windows, which hours the venue empties — useful for next year’s program and catering.
- Party consistency on walk-in events. Companions ride on the primary’s ticket, so check-out and re-entry apply to the whole family — nobody’s kid gets left in the system.
When the System Says No
Check-outs get refused in three situations: check-out isn’t enabled for the event, the sliding window isn’t open yet (with a deliberate exit-door scan this shouldn’t happen — the window follows check-in), or today isn’t an active day on a multi-day schedule. The scanner explains the reason on screen.
For real emergencies — a guest rushing out mid-window for an ambulance — the organizer can check them out manually from the dashboard, bypassing the window. That override lives with organizers, not door staff, which keeps the audit trail meaningful.
Conclusion
Check-in tells you who arrived; check-out tells you who is still there. If your event has any in-and-out movement — food areas, multi-day schedules, parents on pickup duty — turn check-out on, pick a sane window, and let re-entry take care of itself. QRS supports exit scanning, automatic re-entry check-out, sliding windows, and manual overrides so the answer to “who’s inside?” is always one glance away.
Found this helpful?
Explore more articles on this topic