Event Doors, Capacity, and Ticket Access Control
Every check-in door is an independent control point: capacity counts who is currently inside, a per-door ticket-tier allowlist decides who may enter, and staff and scanners are assigned per door.
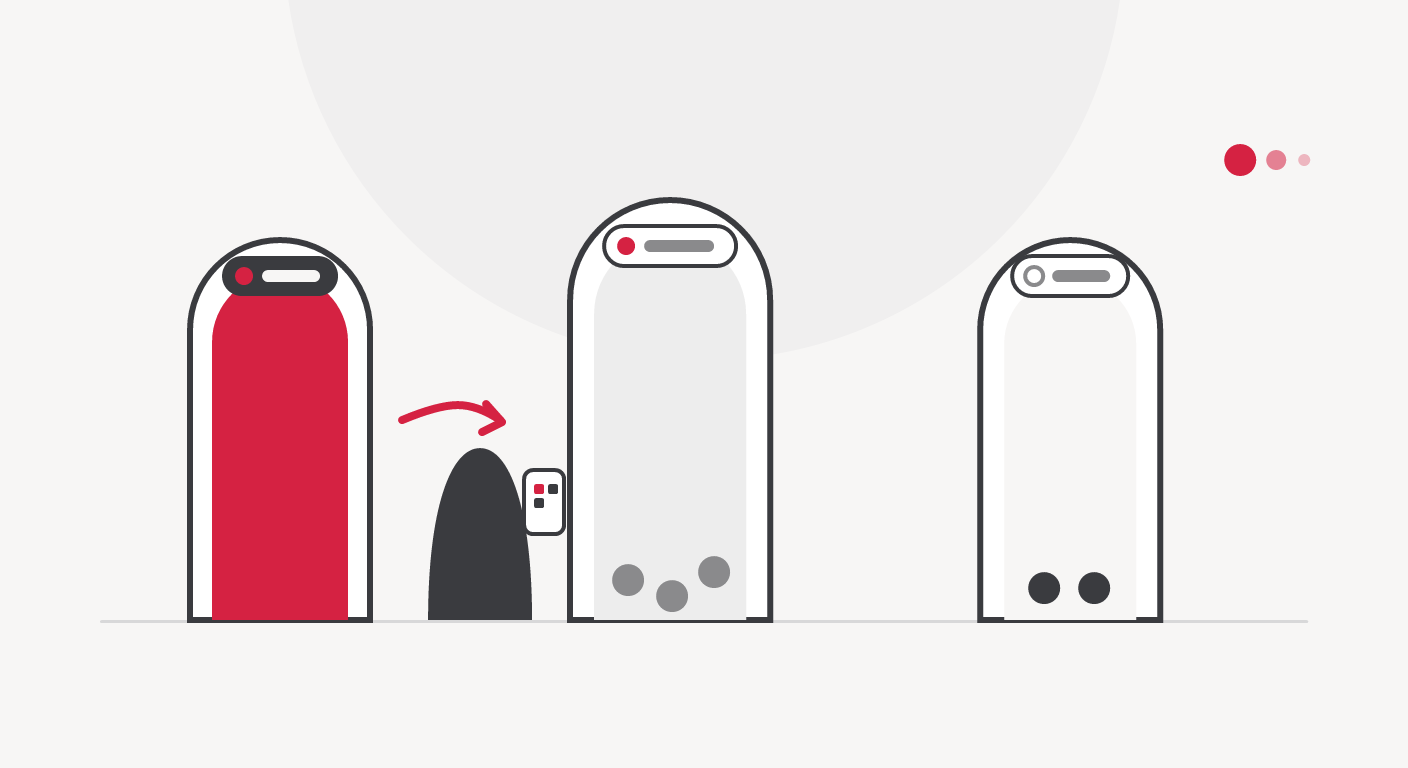
The Three Questions Every Door Asks
Stand at any event door and listen: door staff really only answer three questions, over and over — is this guest allowed through this door? Is there room? Who is responsible for scanning here?
Those three questions are exactly what you configure before doors open. In the system, each check-in door is an independent entry point that carries pre-decided answers to all three — so when the doors open, staff make no judgment calls mid-flow.
A Door Is an Independent Entry Point
An event can have many doors — main entrance, VIP door, south entrance. Each has four attributes:
- Name — so staff and guests refer to the same thing.
- Location — a short description for orientation (“Lobby A, ground floor”).
- Capacity — the limit on guests currently inside via this door.
- An enable switch — a disabled door reports “door is off” when someone tries to scan, rather than letting scans fall into a void.
Capacity Counts “Inside Now,” Not “Admitted So Far”
This is the most commonly misunderstood detail. A door’s capacity isn’t the total who have passed through — it’s the number of guests currently inside attributed to that door:
- A guest checks in successfully → the current count rises by one.
- A guest checks out (if the event enables check-out) → it drops by one.
- When the door hits its limit → the next scan reports “door is full”, and staff direct the guest to wait or use another door with room.
This counting matches what safety officers and venues actually care about: current pressure on the space, not the afternoon’s cumulative total. It also hands you a very practical load-balancing tool — three doors of 200 instead of one door of 600: shorter queues everywhere, and one congested door no longer congests the whole event.
Set capacity from the physical space and the venue’s safety rules — not from how many tickets you sold.
Ticket Access: Each Door Has an Allowlist
Controlling “who enters where” is a list of allowed ticket tiers attached to each door. When staff scan, the system checks the guest’s tier against that list:
- Tier is on the list → check-in succeeds (green).
- Tier isn’t → the scanner shows red, “wrong ticket tier for this door”, with guidance — the guest isn’t rejected, they’re redirected to the right door.
The three most common layouts:
- VIP door — VIP only; standard guests are redirected to the common door.
- Main door — both standard and VIP; everyone gets in.
- Workshop / registration door — one special tier only, such as guests who registered for a specific workshop.
Two things worth remembering: ticket tiers must exist before you configure a door’s allowlist, and a rule takes effect on the very next scan — changing the configuration mid-event is genuinely live, even if it’s rarely what you want to do.
Assigning Staff and Scanners to a Door
The third question — who runs this door — is answered by assigning staff and scanner devices to each door:
- Staff signing into the scanner app only see the doors they’re assigned to — no scrolling, no picking the wrong one.
- Every check-in is recorded as which staff member, on which device — post-event reports break down per door and per person.
- Each door takes up to 50 scanners; if you need to move devices between doors mid-shift, reassignment applies instantly — a device that’s actively scanning picks up the change without logging out and back in.
When to Split Into Multiple Doors
- A separate VIP area — split the VIP door for tighter control and less congestion.
- A venue with several physical entrances — one door per entrance instead of funneling everyone through one point.
- Large events with an arrival rush — more doors, shorter queues.
- Tiered-flow events — each ticket group enters through its own door and gets checked faster.
The rule of thumb: door count scales with simultaneous arrivals and the number of guest groups you treat differently — not with total attendance.
Managing a Long Door List
For events with many doors, a few operations save serious setup time:
- Bulk create — paste a list of door names (one per line) to create them all at once, then go back to set capacity and tiers per door.
- Duplicate a door — a fully configured door (location, capacity, tier allowlist) can be duplicated; the copy inherits every setting, and you only rename it and adjust the differences. Names and actual check-ins are not copied.
- Drag to reorder — the door order is the order staff see when picking a door in the scanner app; put the main door on top so it’s easy to find.
- Search and filter — find doors by name or code, or filter to doors that admit a given tier.
- Disable instead of delete — deleting a door is permanent and its check-ins no longer show under that door; for a temporary pause, just flip the switch off.
The Pre-Open Checklist
Every door has staff assigned. Capacity matches the physical space. The tier allowlist is reviewed. The switch is on. Finish these four lines before the first guest queues — changing door configuration mid-check-in is the fastest way to confuse the staff standing in the flow.
Conclusion
An event door does its job when it has answered its three questions in advance: who gets in, is there room, and who’s responsible. Configuring doors before opening is the cheapest ten minutes you’ll buy for event day. QRS supports doors with live inside-now capacity, per-door ticket-tier allowlists, and per-door staff and scanner assignment — set it up once, run it all day.
Found this helpful?
Explore more articles on this topic