Print Event Badges at the Check-In Door
Design the badge template once, the system pre-creates a personal badge for every guest when tickets go out, and staff print it at the door right after a successful check-in.
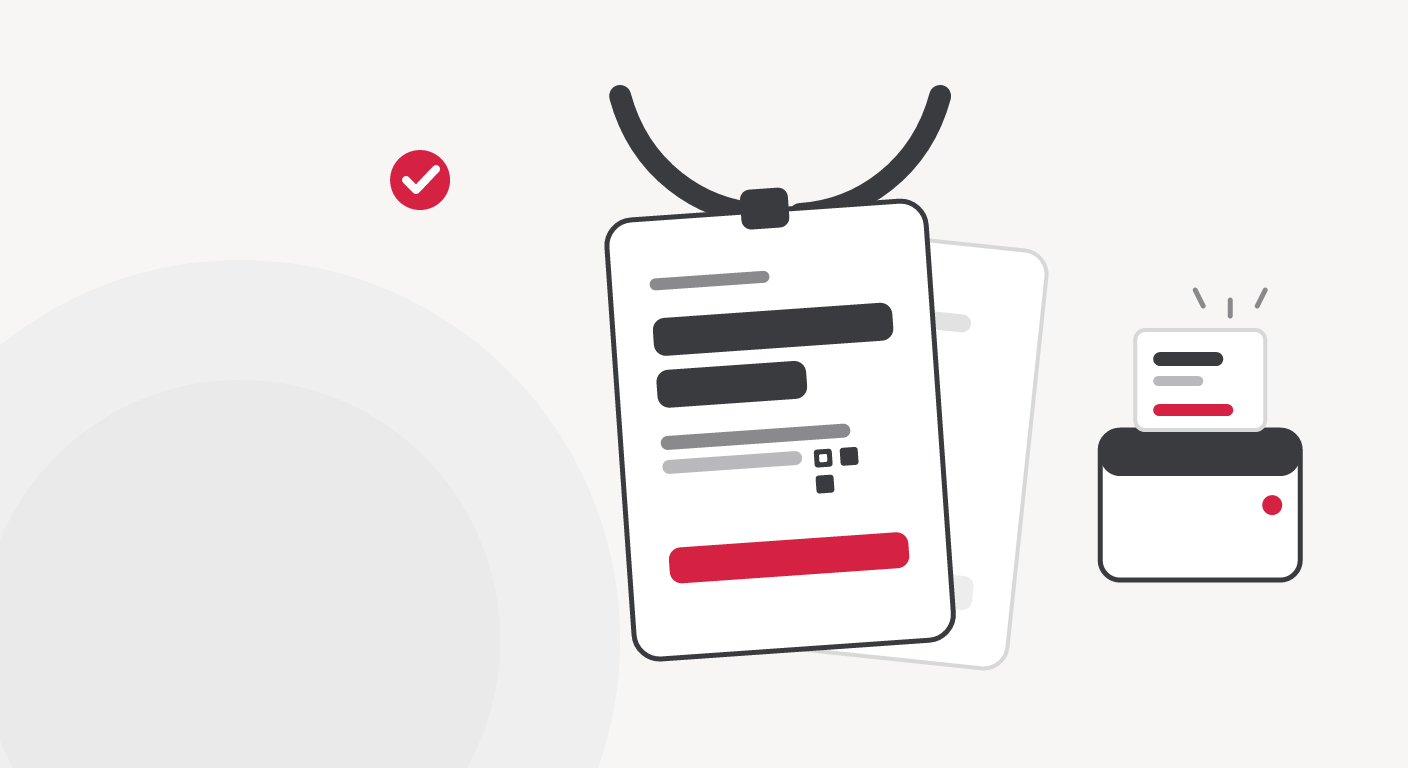
“Who Is This Person?”
Five hundred strangers in one conference room — the badge is what turns a crowd into a network: who this person is, which company, what role. The problem has never been the badge’s value, but how the badges get made.
The traditional approach — pre-print everything — has its own price: a long table sorted alphabetically, guests queuing to find their own name, overprinting for no-shows, late registrants with no badge at all, and one last-minute title change invalidating a whole batch.
There’s another way: print the badge at the moment it becomes meaningful — as the guest steps through the check-in door.
Two Ways to Issue Badges: Pre-Print or Print at the Door
| Criterion | Pre-print everything | Print at check-in |
|---|---|---|
| Queue at the door | Lines searching an alphabetical table | No longer than the ticket scan |
| Late registrations or changes | No time to print — badgeless guest | Fine — the badge uses the latest data |
| Print volume | Predicted, usually over | Exactly the number who show up |
| Last-minute title / tier change | Reprint the whole batch | Automatically correct — rendered from live data |
| Cost | Paying for the overprint | Paying for what’s used |
Printing at the door doesn’t eliminate preparation — it moves the print moment. The template still has to be designed in advance, but each guest’s badge only comes into existence when that guest actually appears.
The Four-Step Process
- Enable badge printing for the event in its settings. A badge design tab appears on the event page (the feature must be enabled for your plan — contact your administrator if it’s missing).
- Design the badge template in the drag-and-drop editor. A default template ships with the four basic lines — event name, guest name (large type), organization, ticket tier — and you can change colors, font sizes, and alignment, add text and image blocks, and preview at true print size.
- Send tickets to your guests. The moment each ticket email goes out, the system pre-creates that guest’s personal badge from the saved template — right name, right organization, right tier, no manual edits. Which means that at check-in, the badge is ready to print instantly, even on a weak network.
- Print at the door. Staff scan the code, the check-in succeeds, and a Print badge button appears on screen — tap it, pick the printer, done.
One detail in step 2 matters more than it looks: the template as it exists when tickets are sent is the template used to generate badges. Save before sending — later edits to the template don’t affect badges already created.
Printing Never Blocks Check-In
This is a design principle worth trusting: whether the printer jams, loses connection, or runs out of ribbon, the guest is already admitted. Printing is an addition, never a condition.
Failure cases are handled honestly:
- Badge already downloaded to the device — prints fine from the cached copy, even offline.
- Badge not yet downloaded — the screen shows a queued state; the badge reprints automatically when the device regains network, or staff tap Print again after recovery.
- Browser blocks the print dialog — the system opens the badge image in a new tab for manual printing.
And for anything after the fact — a torn badge, a guest admitted before the printer was switched on, a reprint for a broken lanyard — you can reprint any guest’s badge from the check-in management view.
Tips for a Badge Worth Wearing
- The name bigger than everything else. Badges are read from two meters away, not twenty centimeters.
- A color strip by ticket tier on the badge edge — VIP, speaker, media, and sponsor spot each other from across the room without squinting at fine print.
- Enough data, no more. The default fields (name — organization — tier) are a good start; every field you add should answer “who reads this line, and why?”.
- CMYK for volume printing through a print shop: the editor accepts direct CMYK channel values from the shop’s brand guide, with out-of-gamut warnings — the same color model as ticket design.
- Don’t cram a QR onto the badge. The e-ticket already handles authentication; the badge is for humans to read.
On hardware: one thermal or plastic card printer comfortably serves a door with a few hundred guests — set it next to the scanner, with pre-cut lanyards and one person responsible for restocking media.
Conclusion
A badge is the smallest but most-seen brand touchpoint an event has — people wear it all day. When each badge is pre-created as tickets go out and printed at the door right after a successful scan, you get pre-printed quality at pay-for-what-you-use cost. QRS supports drag-and-drop badge design, automatic badge creation on ticket delivery, and door printing that survives network loss — design once, then just print all event long.
Found this helpful?
Explore more articles on this topic